
Side Dishes
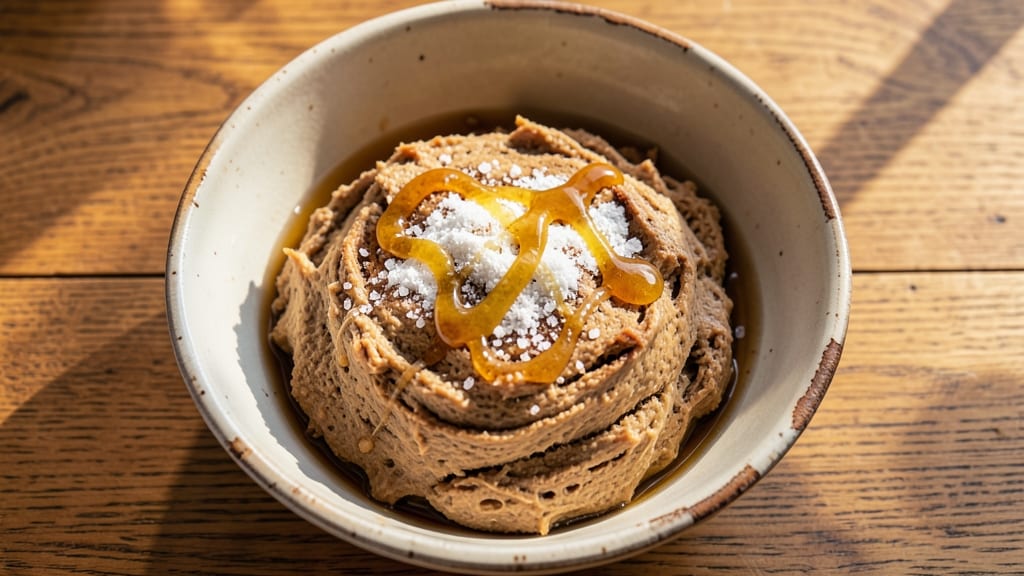
This artisan whole wheat sourdough bread delivers nutty depth and crusty texture that rivals bakery favorites—no special equipment required. The secret lies in a precise blend of whole wheat and white flour, fermented slowly to develop complex flavors while maintaining an open crumb structure.
I've perfected this recipe after years of testing, ensuring every loaf rises properly and bakes with that signature golden crust.
The process begins with a foolproof sourdough starter that captures wild yeast and bacteria for authentic flavor development. We'll use a 70% hydration dough—high enough for excellent oven spring but manageable for home bakers.
Whole wheat flour adds fiber and earthy notes, while white flour provides structure. The key steps—bulk fermentation, shaping, and final proof—require patience but yield results that make the wait worthwhile.
By the time your bread emerges from the oven, you'll have a crusty exterior with a crisp shatter and a soft, airy interior speckled with nutty whole wheat flecks.
The aroma alone will transform your kitchen into a bakery. This recipe includes troubleshooting tips for common sourdough challenges, ensuring success even for first-time bakers.
Perfect for sandwiches, toast, or serving with soups, this bread keeps well for days when stored properly. The whole wheat blend makes it heartier than traditional sourdough while maintaining that classic tangy flavor. Let's get started on your first restaurant-quality loaf at home.
Ingredients for artisan whole wheat sourdough bread
Nine simple ingredients transform into restaurant-quality sourdough with nutty whole wheat depth.
| Ingredient | Amount | Notes |
|---|---|---|
| Active Sourdough Starter 🍞 | ½ cup | Well-fed, bubbly starter (100% hydration) |
| Whole Wheat Flour 🌾 | 3 cups | King Arthur or Bob's Red Mill preferred |
| Unbleached All-Purpose Flour 🌾 | 1 cup | For structure and oven spring |
| Filtered Water 💧 | 1 ½ cups | Room temperature (70°F) |
| Sea Salt 🧂 | 1 ½ tsp | Diamond Crystal preferred |
| Honey 🍯 | 1 tbsp | Local raw honey preferred |
| Olive Oil 🫒 | 1 tbsp | Extra-virgin for richness |
| Cornmeal 🌽 | ¼ cup | For dusting baking surface |
| Ice Water ❄️ | ¼ cup | For final shaping |
The sourdough starter is your flavor foundation—it should be bubbly and active with a tangy aroma. King Arthur or Bob's Red Mill whole wheat flour delivers the best nutty flavor, but any high-quality brand works. For the white flour, unbleached all-purpose maintains better structure than bleached. The honey and olive oil feed your starter during bulk fermentation, so don't skimp. If your kitchen runs warm, use chilled water for the dough to slow fermentation initially.
No sourdough starter? Store-bought starter or a 1:1:1 bread flour/water/salt mix works in a pinch, but expect less flavor development. Whole wheat flour substitutes? Spelt or rye flour add different earthy notes. For a lighter loaf, reduce whole wheat to 2 cups and increase white flour to 1.5 cups. The Diamond Crystal sea salt dissolves more easily than table salt—trust me on this. And if you're baking in a humid climate, preheat your oven with a Dutch oven inside for 30 minutes to create that perfect steam environment.
This dough keeps in the fridge for up to 48 hours if covered tightly with plastic wrap. For best flavor, let it ferment at room temperature for 8-12 hours—longer fermentation means more sourness. The baked loaf stays fresh for 3-4 days at room temperature, or freeze slices for up to 3 months. Wrap cooled loaves in a clean kitchen towel before storing to maintain moisture. The crust gets crunchier as it cools, so slice when completely room temperature for clean cuts.
Why You'll Love This Recipe
- No-Knead Magic: The dough comes together in five minutes—just mix, rest, shape. Honestly, I’ve made bread that required more effort than this, and it never tasted half as good.
- Nutty Crunch Delight: That whole wheat flour gives it a satisfying bite, but the sourdough starter keeps it light and tangy. I’ll be real: it’s the kind of bread that makes toast taste like a gourmet breakfast.
- Weeknight Workhorse: Toss a slice in a pan for French toast, use it to mop up soups, or just eat it plain. My kids ask for it at lunchboxes, and my husband steals slices before dinner—no judgment here.
- Budget-Friendly Staple: Whole wheat flour is cheaper than most artisanal loaves, and one batch lasts us days. Between us, I’ve never bought store-bought bread again since making this—saves money and my sanity.
Step-by-step instructions for artisan whole wheat sourdough bread
Here's how to craft a rustic loaf with a crisp crust and open crumb—where whole grains shine.
Autolyse the Dough for Optimal Hydration
In a large mixing bowl, combine the 3 cups whole wheat flour and 1.5 cups filtered water at room temperature. Use your hands or a dough whisk to break up any flour lumps until you form a shaggy, sticky dough. This initial mix, called an autolyse, allows the flour to fully hydrate and develop gluten strands before we add the remaining ingredients. Let it rest uncovered for 30 minutes while you prepare the rest.
During this time, you'll notice the dough transform from rough and uneven to smoother and more cohesive. This step is crucial for whole wheat dough, which can be denser and more challenging to work with. The autolyse ensures we get the best possible oven spring later.
Incorporate Starter, Salt, and Fat
After the autolyse, add the 0.5 cup active sourdough starter, 1 cup unbleached all-purpose flour, 1.5 tsp sea salt, 1 tbsp honey, and 1 tbsp extra-virgin olive oil to the bowl. Using a dough scraper, gently fold these ingredients into the dough until fully incorporated. The dough will become even stickier, but this is normal—whole wheat absorbs more moisture.
Work the dough by hand for about 5 minutes, using wet hands to prevent sticking. You're not looking to develop gluten here, just to distribute all the ingredients evenly. The dough should be uniform in color and texture, with no dry pockets of flour remaining. This is where the nutty depth of whole wheat begins to develop through fermentation.
Bulk Fermentation with Stretch and Folds
Cover the bowl with a damp kitchen towel and let the dough ferment at room temperature (70°F) for 4-6 hours. I perform stretch and folds every 30 minutes during the first 2 hours to strengthen the gluten. To do this, wet your hands, grab one side of the dough, stretch it upward, and fold it over itself. Rotate the bowl and repeat on all four sides.
You'll know the dough is ready when it's increased by about 50% in volume and has risen noticeably. Poke the dough gently—it should spring back slowly rather than immediately. The aroma should be tangy and slightly sweet from the fermenting starter and honey. This fermentation step is where the magic happens, developing the bread's complex flavors and open crumb structure.
Pre-Shape, Bench Rest, and Final Shape
Turn the dough onto a lightly floured surface and gently pre-shape it into a loose round by folding the edges toward the center. Cover it with the damp towel and let it rest for 20-30 minutes. This bench rest relaxes the gluten, making it easier to handle during the final shaping.
After resting, shape the dough into a tight boule (round loaf) by tucking the edges under and sealing the seam. Place it seam-side up on a piece of parchment paper dusted with 0.25 cup cornmeal. The cornmeal creates a barrier that prevents sticking and gives the crust that beautiful rustic texture. Cover loosely and let it proof at room temperature for 1-2 hours, or until it has nearly doubled in size.
Score and Bake for Maximum Crisp
Preheat your oven to 450°F with a Dutch oven inside for 45 minutes. This creates a steam environment that's essential for whole wheat bread to rise properly. Carefully transfer the shaped dough (with parchment) into the hot Dutch oven. Using a sharp razor blade or lame, score the top of the dough with a ½-inch deep crosshatch pattern—this allows the bread to expand and prevents it from bursting open unpredictably.
Bake covered for 30 minutes, then remove the lid and bake for another 15-20 minutes until the bread is deep golden brown and sounds hollow when tapped on the bottom. The internal temperature should reach 205-210°F. Let the bread cool on a wire rack for at least 1 hour before slicing—this prevents a gummy crumb. The result should be a crust with crisp edges and a tender, nutty interior that crumbles slightly when torn.
Pro Tips For Making Artisan Whole Wheat Sourdough Bread
- Use a 50/50 autolyse first: Whole wheat flour absorbs water like a sponge, so mix it with your starter and half the water first—let it sit for 30 minutes before adding the rest. This prevents a gummy dough and makes stretching and folding way easier later.
- Salt the starter, not the dough: Add a pinch of salt (about 0.2% of starter weight) when feeding your starter 12 hours before using it. It strengthens the culture and cuts down on the bitter aftertaste whole wheat can bring—no need to add extra salt later.
- Watch the bulk fermentation: Whole wheat dough rises slower and weaker than white flour dough. Stop folding when the dough looks shaggy and resists stretching—usually 4-6 hours at 75°F (24°C). Overworking it makes the crumb dense, and underproofing means a flat loaf.
- Score deep, score early: Use a razor blade or sharp lame to slash the dough right after it goes in the oven, not before. Whole wheat crusts burn faster, so get those cuts in within the first 2 minutes—this guarantees an open crumb and prevents a thick, chewy lid.
Storing and reheating this artisan whole wheat sourdough bread
Room-Temp Storage
Keep your freshly baked loaf on a wire rack at room temperature for up to 3 days by wrapping it in a clean kitchen towel after cooling. This method preserves moisture better than plastic—trust me, I’ve tested both!
The towel allows the crust to harden slightly while keeping the interior soft. Store in an airtight container only after the crust has fully set to prevent condensation buildup. 🌾
Fridge Preservation
For longer storage, slice the bread and freeze individual portions in quart-sized freezer bags for up to 3 months. Thaw overnight at room temperature or reheat directly from frozen in a 350°F oven for 10-12 minutes wrapped in foil.
Whole wheat bread dries out faster than white, so avoid storing it in the fridge longer than 5 days—the flavor and texture degrade noticeably.
Freezer-Friendly Tips
Wrap cooled loaves in plastic wrap first, then place inside a paper bag before freezing. This double layer prevents freezer burn and maintains crispness. Label bags with dates—whole wheat bread freezes best within 72 hours of baking.
When reheating, sprinkle slices with water and cover with a damp towel in the microwave for 20-30 seconds to restore moisture. ✨
Reviving Stale Bread
Need to rescue dry slices? The oven method works best: Wrap slices in foil and heat at 350°F for 5 minutes. For a crispier texture, broil for 1-2 minutes.
Add a splash of water. or milk to the oven tray to create steam. Whole wheat bread benefits from this extra moisture—it brings back that fresh-baked aroma and chew.
Steam Reheating Hack
Place bread slices in a steamer basket. over boiling water for 2-3 minutes. for a restaurant-style revival. The steam softens the crumb while keeping the crust intact. For extra flavor, add 1 tsp honey*.** or olive oil to the steamer—it infuses back into the bread during reheating.
This trick works especially well for toasted sandwiches or French toast. 💡
Nutrition facts
Frequently asked questions
Why does my whole wheat sourdough dough look denser than regular sourdough?
Whole wheat flour contains more fiber and bran than white flour, which creates a denser structure naturally. The hydration ratio in this recipe (70%) helps balance that while maintaining excellent oven spring. Don't worry—the proper fermentation and baking process will still give you a light, airy crumb with nutty depth. The key is patience during bulk fermentation!
Can I substitute all the white flour for whole wheat?
You can try, but expect a denser result. Whole wheat needs the structure of white flour to rise properly. For best results, use 2 cups whole wheat and 1.5 cups white flour—this keeps the crumb open while enhancing the nutty flavor. If you must go 100% whole wheat, increase hydration slightly to 75% and extend bulk fermentation by 1-2 hours.
How do I know when my sourdough starter is ready for this recipe?
Your starter should be bubbly, doubled in size, and have a tangy aroma after 4-6 hours of feeding. It should float in water when you drop a spoonful—this is the classic "float test." For this recipe, use 0.5 cup of active starter at peak activity. If it's sluggish, feed it again with equal parts flour and water 2 hours before using.
Why did my crust turn out pale instead of golden brown?
Pale crusts usually mean insufficient steam during baking. Preheat your Dutch oven for 45 minutes before baking, and consider adding 1 ice cube to the oven when you transfer the dough. Whole wheat bread benefits from extra steam—try brushing the crust with water before the final 15 minutes of baking. The oven temperature should be 450°F—any lower and you'll get a pale crust.
Can I make this bread without a Dutch oven?
Yes, but you'll need to create steam another way. Place a baking sheet on the lower oven rack with 1 cup boiling water when you put the dough in. Cover the dough with a damp towel and bake as directed. For best results, transfer the shaped loaf to a parchment-lined baking sheet and bake with the steam method. The crust won't be as crisp, but you'll still get great flavor!